Create a journal
System: ePortfolio
Journals and journal entries are key elements of ePortfolio. They are part of a suite of artefacts (or simply, content) you can collect and curate to help building your portfolio pages.
This user guide introduces the basics to creating a journal and writing a journal entry in ePortfolio.
Note: You cannot submit journals or journal entries directly to Wattle - you need to add content items to a page for submission.
Related links
Contact
- Wattle Support
- 6125 4321
- Send email
Steps
Step 1
In the top left corner (under the ANU logo), select Content >Journals.


Step 2
Click Create journal to create a new journal.


Step 3
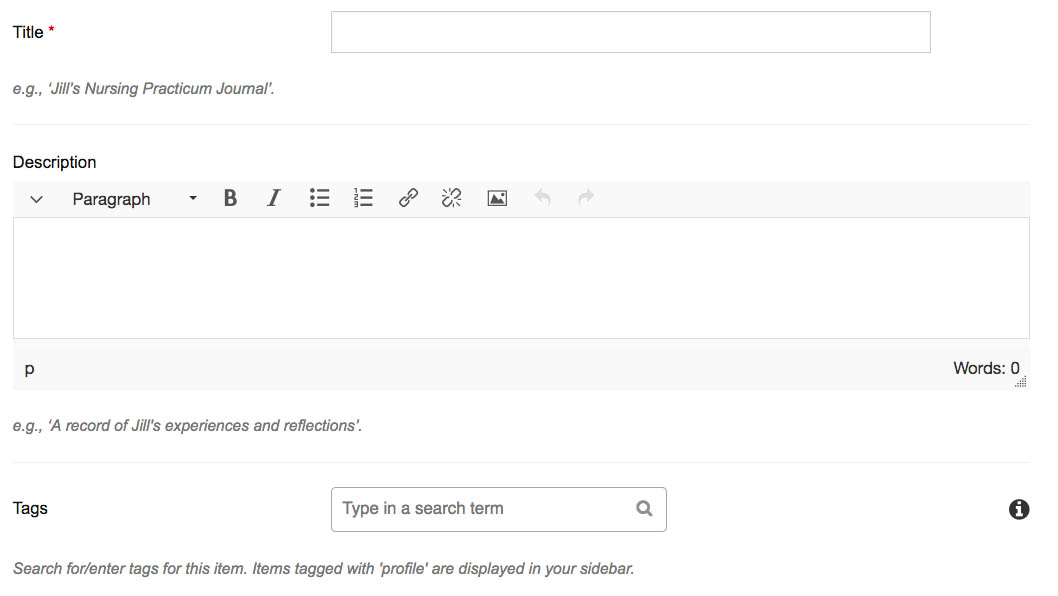
Complete the following fields:
- Title: enter the name of your journal.
- Description: enter a description of the journal, if desired.
- Tags: type the name of the tag(s) you want to user when searching for this journal.

Step 4
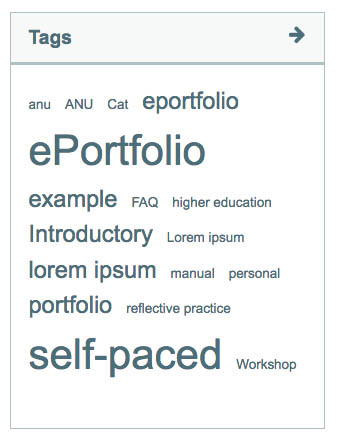
Tags are shown in a tag cloud block on the right hand side of the page. You can access your journal or journal entries via its tags.

Step 5
Click Create journal.
You are now ready to create a journal entry.


Step 6
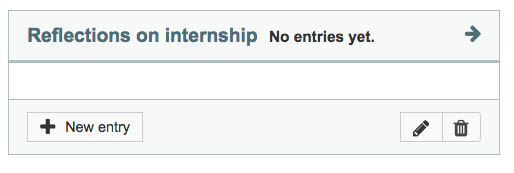
Writing journal entries
To write journal entries, access your journal and click New entry.

Step 7
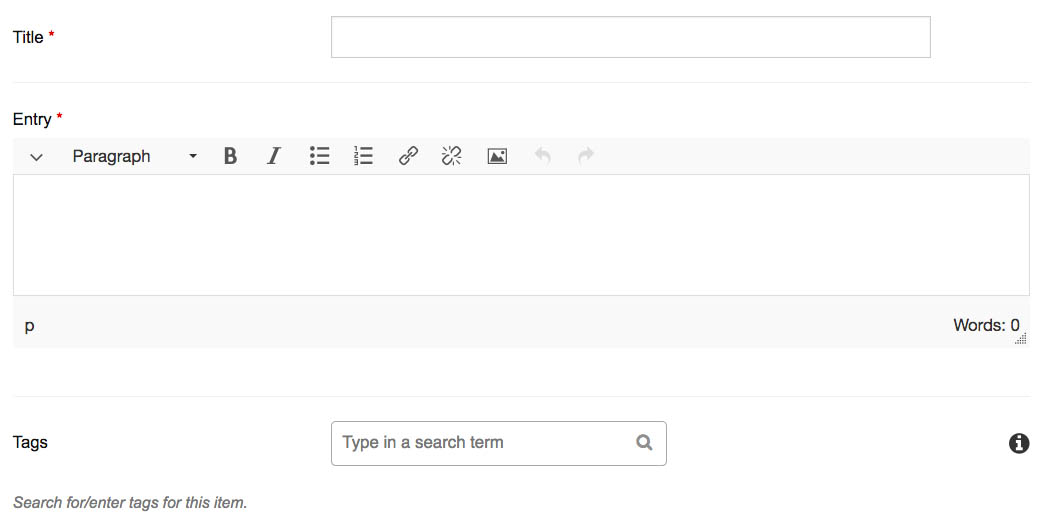
Complete the following fields:
- Title: enter the name of the journal entry.
- Entry: record your journal entry.
- Tags: type the name of the tag(s) you want to user when searching for this journal.
The Title and Entry fields are mandatory so put in some draft text if you would like to create a placeholder.

Step 8
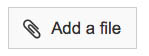
If you would like to attach any files to your journal, click Add a file.

Step 9
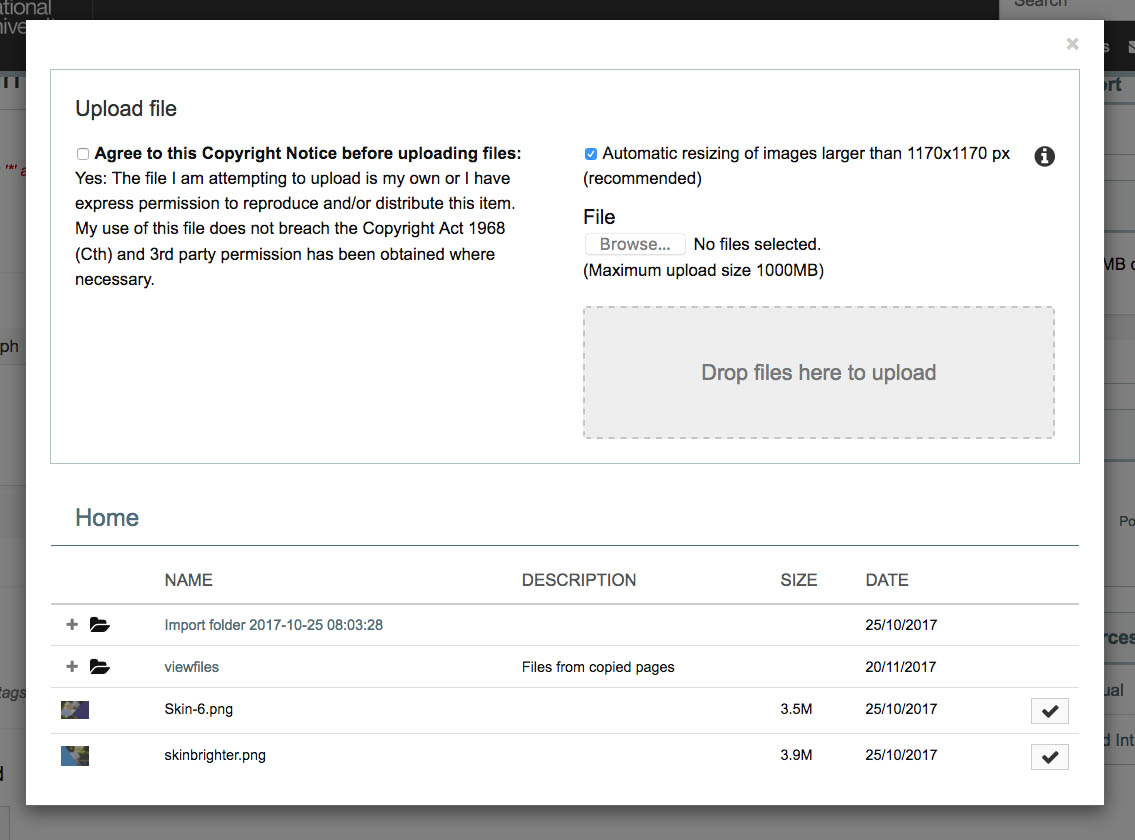
The Upload file window requires you to select a checkbox indicating the file you are uploading does not breach copyright. If unsure, check before uploading the file.
Select an exisitng file from your ePortfolio files in the Home section, or drag and drop to upload a new file from your computer to the dropbox.
Click X in the top right corner of the Upload file window to close it.

Step 10
The file displays under Attachments in your journal entry. Click Remove to delete if required.


Step 11
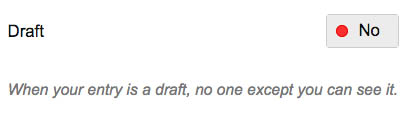
The Draft button defaults to 'No', i.e. Published status. If you add a published journal entry to a page, anyone with whom you have shared the page with will be able to view it.
If you keep the journal entry as a draft by changing the option to 'Yes', it cannot be viewed by anyone even if the page is shared.

Step 12
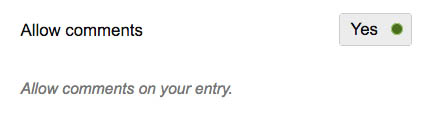
The Allow comments button defaults to 'Yes'. If you add a journal entry to a page, anyone with whom you have shared the page will be able to comment on it.
If you disable comments by changing the option to 'No', no one will be able to comment on the published journal entry including yourself.

Step 13
Click Save entry to save your journal entry, or Cancel to exit without saving.


Step 14
Once saved you will be able to see your journal entry on the journal home page. If it is a draft, you have the option to publish and vice versa.
Click on the pencil icon to edit or the bin icon to delete as required.


Page Owner: Centre for Learning & Teaching