Create and add content to a page
System: ePortfolio
In this user guide, we'll show you how you can create and add content to an ePortfolio page.
Note: You can only submit a page (or collection) to a Wattle assignment.
Contact
- Wattle Support
- 6125 4321
- Send email
Steps
Step 1
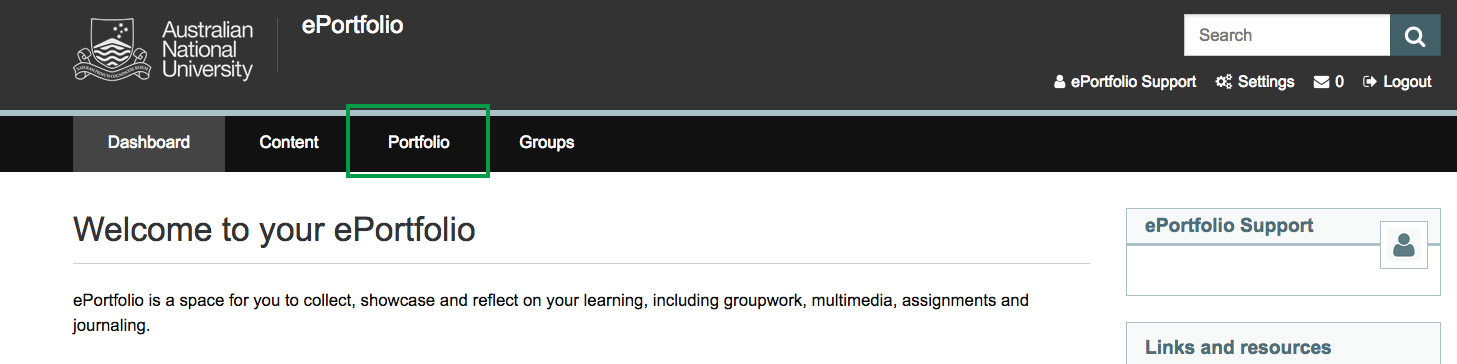
To upload files directly to an ePortfolio page, click on Portfolio after logging in.

Step 2
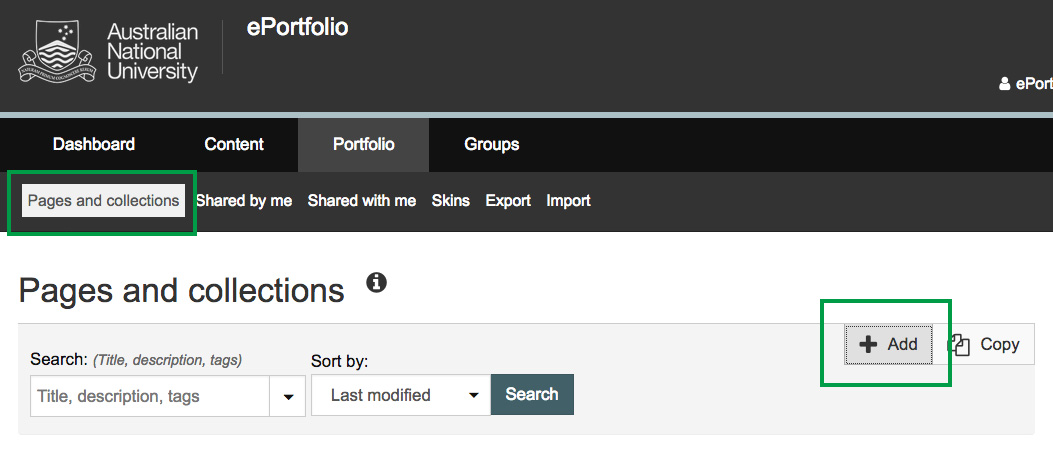
By default, you should be directed to Pages and Collections (as shown in the submenu as highlighted).
Click Add to create a new page.
If you would like to add your file(s) to an existing page, select the block with the correct title as shown in the page.

Step 3
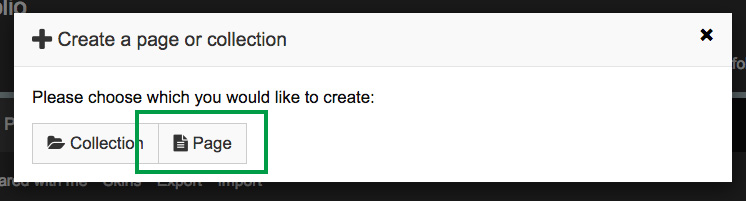
A pop-up will appear. Select Page.
Further information: A collection is a set of pages. You should create the pages first before setting up a collection.

Step 4
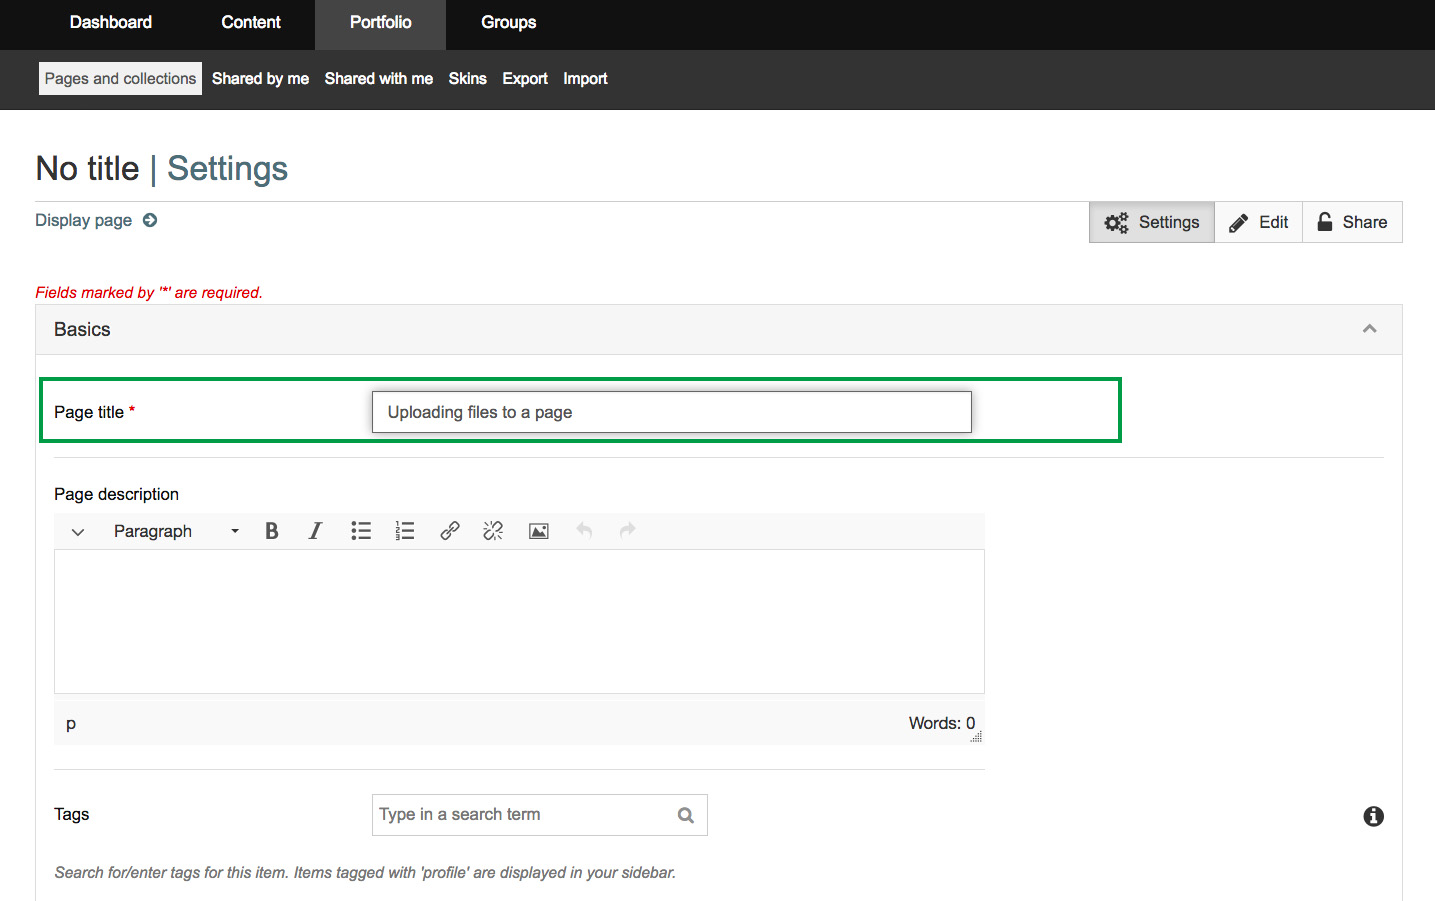
You will be brought to a set-up page. Give your page a Title - this is mandatory (or it will default to untitled) - and fill in other information as prompted. Click Save at the bottom of the page.
Some options:
- Tags: Allows you to organise your pages, collections and content items (e.g. Files, Journals, etc.) by keywords.
- Layout: This allows you to change how many columns and rows you would like to display on your page.
- Skin: This allows you to change the background and some design elements of the page (we do not recommend attempting this until you are more familiar with the platform).

Step 5
You can now add and edit content. There are a number of options here: You can add new content (e.g. Text) or use previously uploaded content (e.g. Files, Images, Journals). All content will display in blocks as shown.
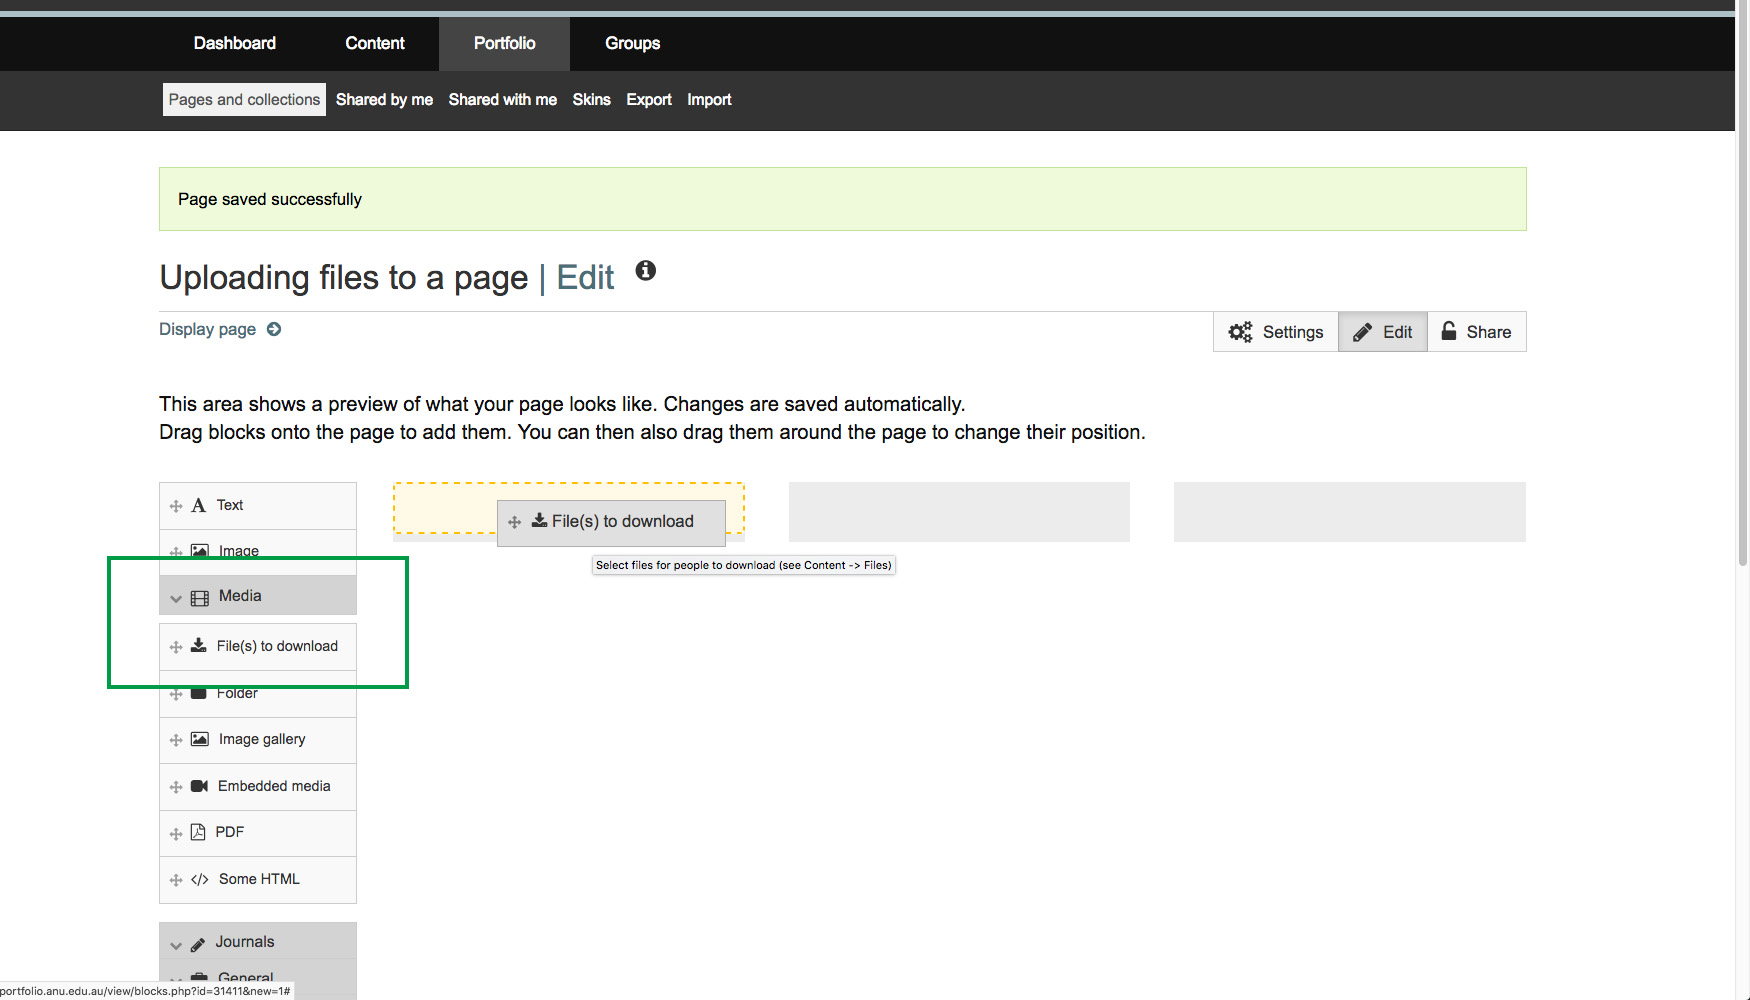
To add files for example, expand the Media tab on your right, and drag File(s) to download into the column and row you would like it to appear in (as shown in the image). This will create a block on your page.

Step 6
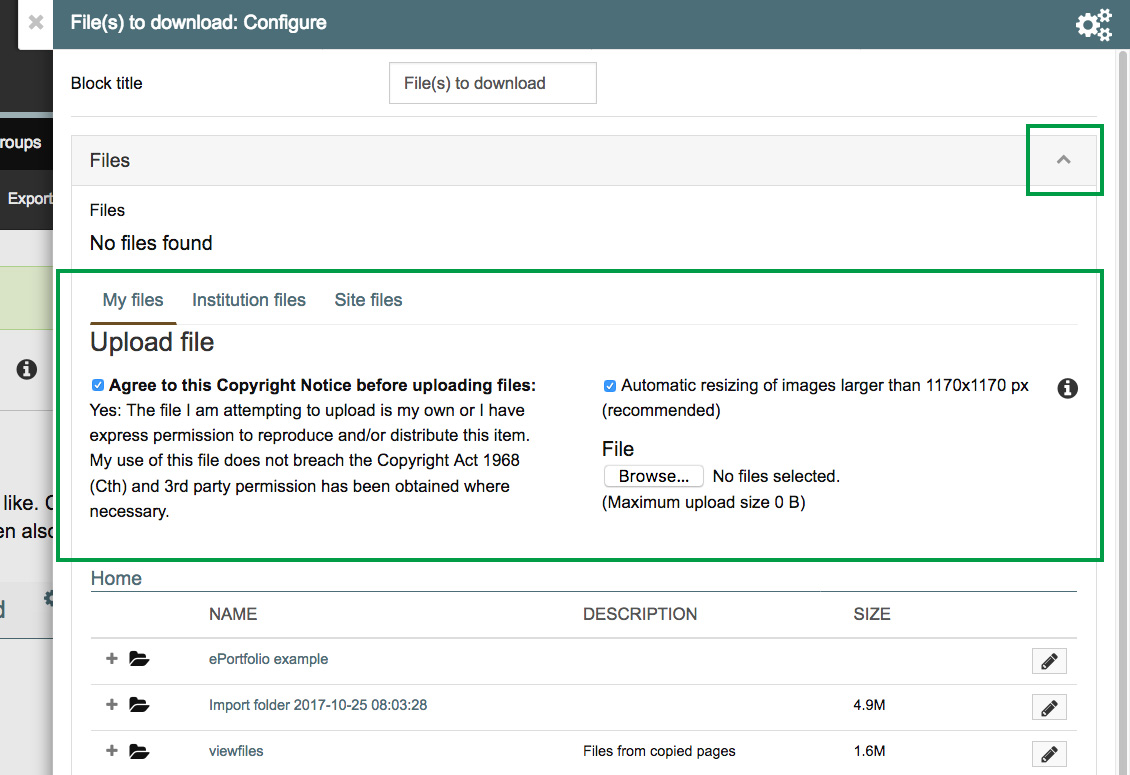
A pop-up will appear on the right (applicable to all content items). Change the title and expand the File section using the arrow on the right. You have to agree to the copyright notice to upload a file. Select Browse to upload a file from your computer. If you have previously uploaded a file which you want to re-use, you can select it from the list below. You can select/upload multiple files in this section.
You can upload a range of files from .docx, .pdf to .jpg, .mp4 etc.

Step 7
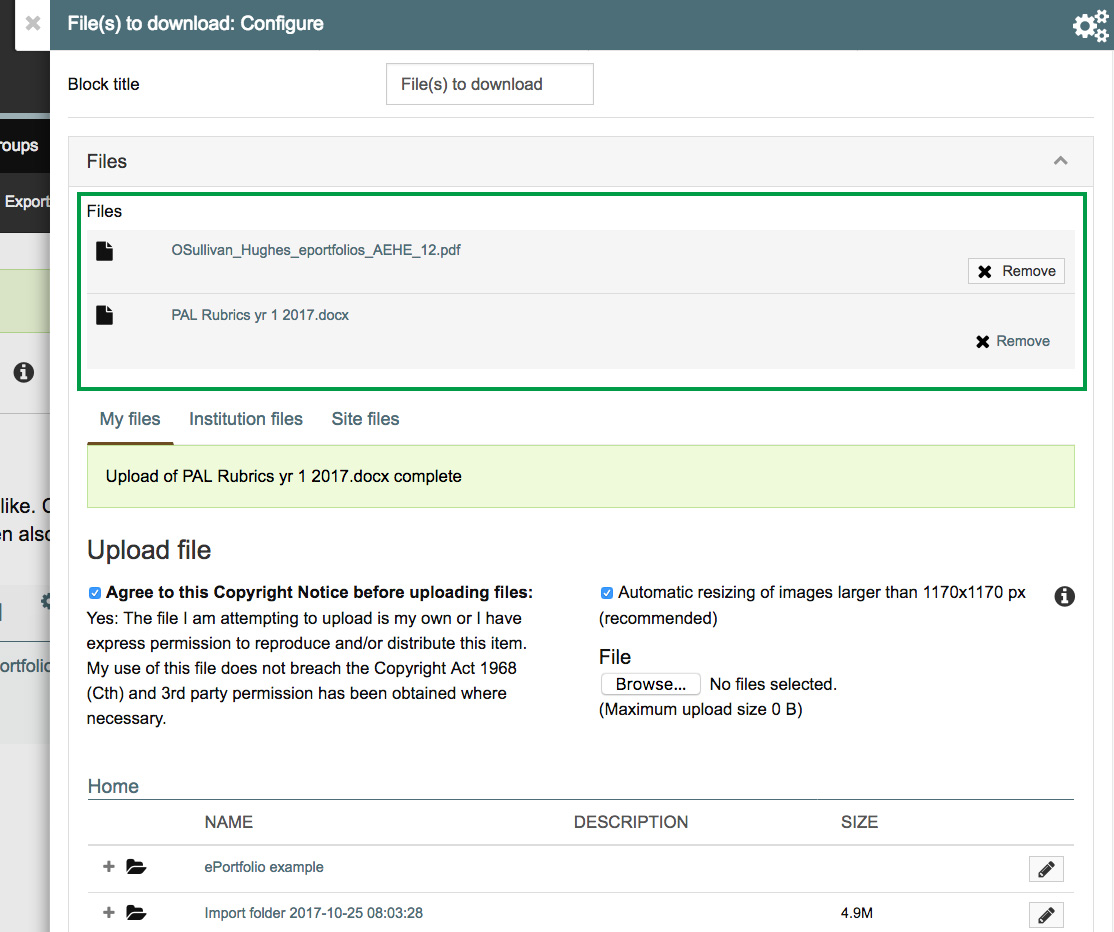
Files that you selected will be shown at the top of the screen as you upload/select them. Click Remove if you do not want them in the section anymore.
Scroll down to the bottom of the page and click Save.

Step 8
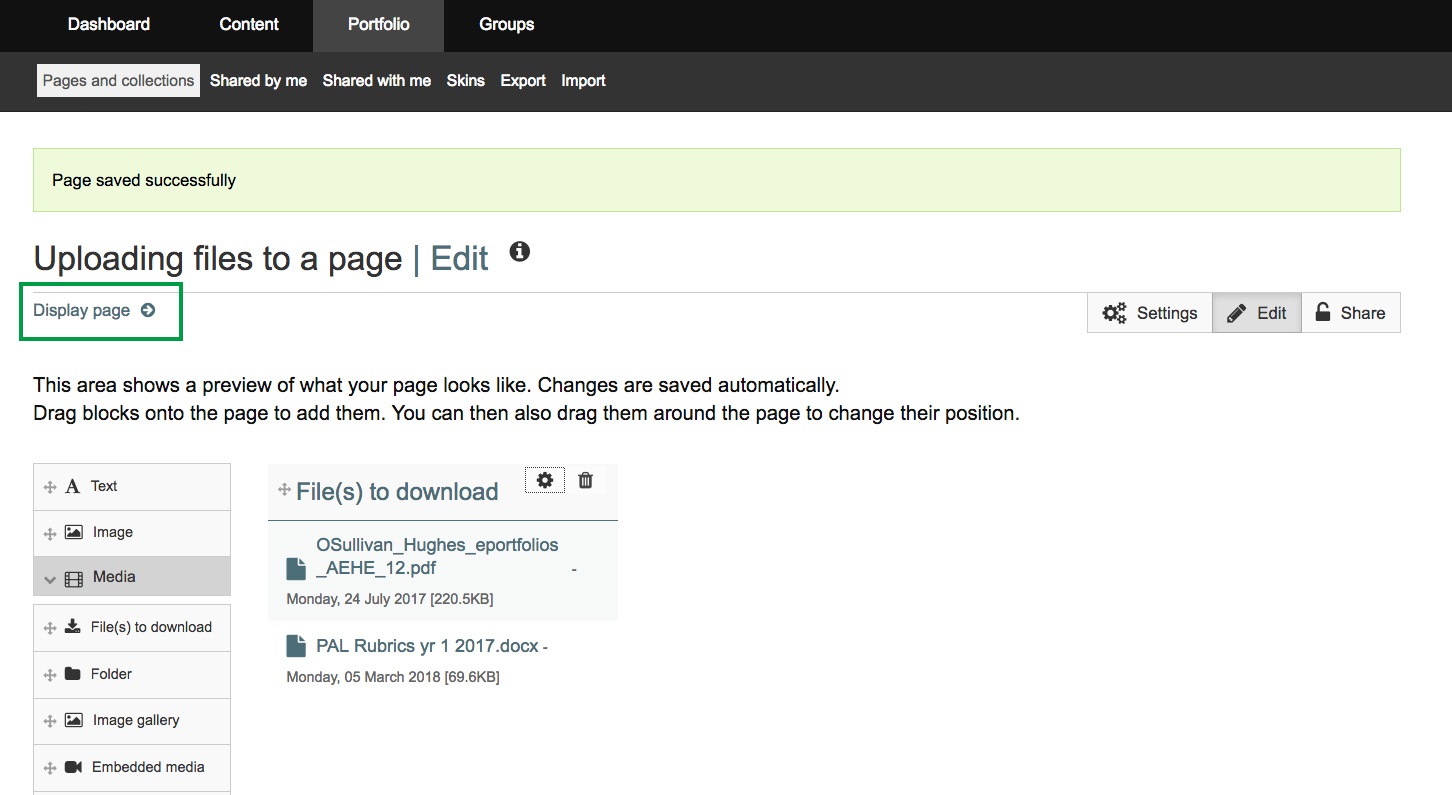
Your ePortfolio page will be automatically updated with the files you selected/uploaded (as shown). To see how it will appear on the page, click Display page in the left hand corner. This process is similar for all content items.

Page Owner: Learning and Teaching